- For degigning my Website I used Dreamweaver 8. It is a software which enables to design a website using GUI. The user may select source code of any website and start working on it. It is worth mentioning that proper credits has to be given to the websites from where the source codes has been used. For this purpose I have included a CREDIT page as well in my website wherein proper credits would be mentioned during my cource of work.
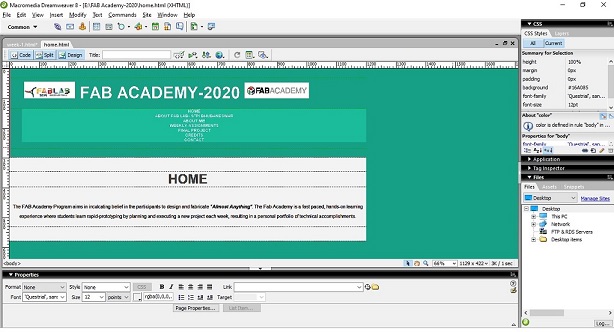
- The Dreamweaver 8 software enables to convert and personalise any design of compatible websites. I have created my website using the template of https://templated.co/cerulean. To design a website in Dreamweaver 8 initial page has to be customised first wherein all the details and contents of the website is present like about me, final project, weekly assignments etc.. Proper placing of all the headings in the initial page is must so that the website is easy to be understood and seems pleasant in view. The design I made for the initial page in Dreamweaver was as under:-
- The main advantage of Dreamweaver 8 is that we can see the design as well as the HTML Code for the same in a single screen. For eg. the design of my initial page and its HTML code in a single screen is shown below:-
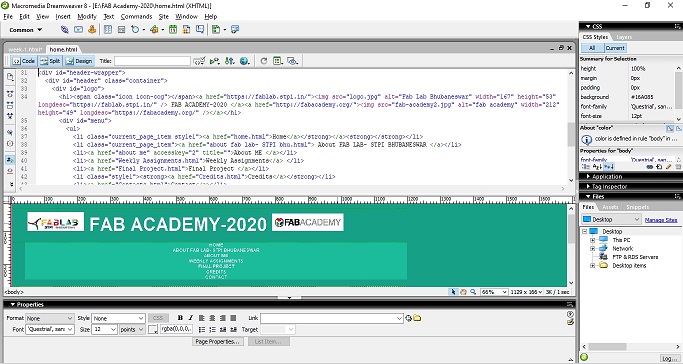
This facility of Dreamweaver 8 provides the user options to either design the website using HTML code or by simply editing the text with auto generated HTML codes.
- After designing the main page of the website, the other pages has to be created using the template same as the main page and renaming it as per the other subheads of our website as per the design.
- The destination of all the design templates has to be on the same page as thios would avoid confusion while inter linking the pages with each other.
- After designing the main page of the website, the other pages has to be created using the template same as the main page and renaming it as per the other subheads of our website as per the design.
- The destination of all the design templates has to be on the same page as thios would avoid confusion while inter linking the pages with each other. The templates of each subheads of the website in HTML format has to be interlinked with each other so that proper navigation from one page to other may be done properly.
I found using Dream weaver 8 easier to work as it provided my ease of designing the website and reviewing the changes in the HTML codes as well.
Further, working on Git was explained. This section was also covered during the recitation held on 03.02.2020. The class covered the following:-
- Setting-up of Git by initializing Git repository. A repo was to be made which contained all the work done during the project. The same repo was to be hosted over the cloud. Hence the emphasis was laid on the data to be uploaded in the cloud to be less but readable.Various tools are used for it which would be discussed in Week-2.
- Configuring global user name and email id.
- The folder which was required to be uploaded is required to be coverted into a master by initializing it.
- Further SSH key was required to be generated so that the website may be hosted on the cloud.
- After the SSH Key is generated, remote set-up of URL using the SSH Key generated in GIT account is to be done so that the local repository and cloud may communicate with each other.
Th step-by-step process of the work done is briefed in the image below:-
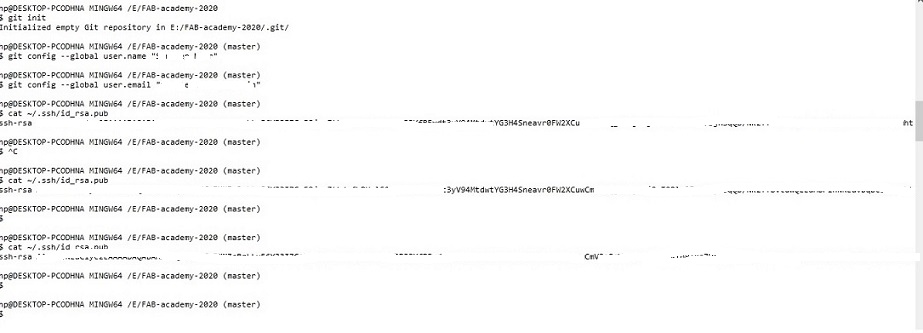
*Note:-The key generated and the email id has been masked in the picture.
Once I completed the set-up of my Git I was able update all my work in the cloud by using simple commands mentioned as under:-
$ git add .
$ git commit -m "<comments for the commit>"
$ git push
In the event when we are not able to push the data into the cloud, the data can be pulled from the cloud and after synchorization with the local server the same can be pushed to the cloud. The command used to pull from the cloud is:-
$ git pull origin master
During the process of setting-up of git, I got few errors which forced me to change my directory twice which has to be mentioned so that the mistakes in the future. The images of the errors during the git set-up in the shown in the pictures below:-
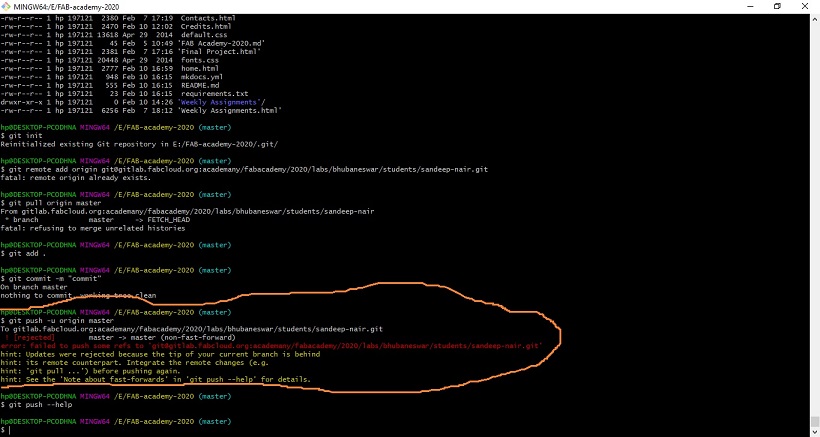
This error occured since my local repository was not synchorised to my SSH.
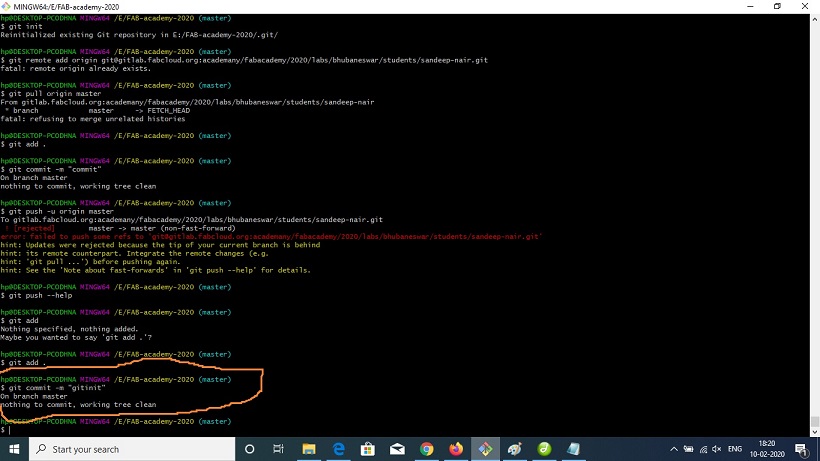
This error occured since I had already initiated my repository and was repeating the process.
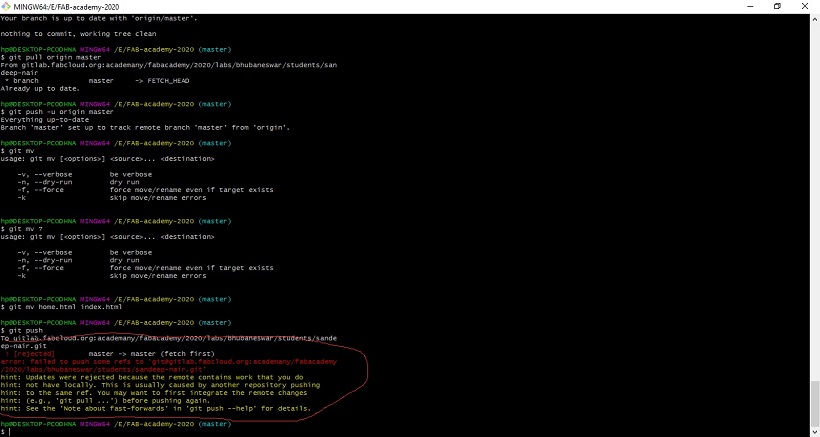
This error was occured as the data in the cloud was not synchorised to my local server.
Once the errors were fixed with the help of my peers and instructor, it was good to good with the data collection and updation in my website over the cloud.
After completing the basic discussion of the FAB Academy Program and seeting up my git to share the data to the cloud the assignment provided was to design a sketch of the potential Final Project. I have updated the same in my 'Final Project' link.